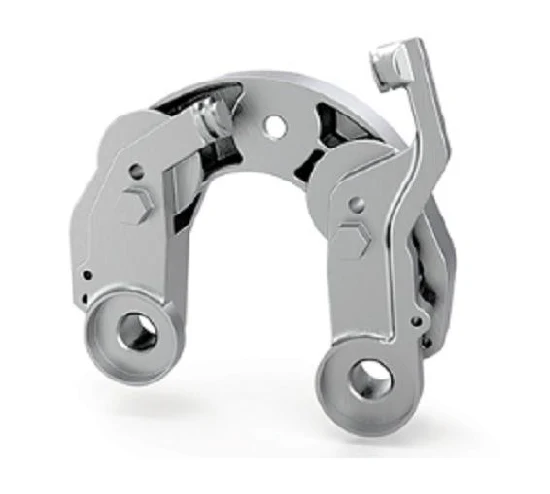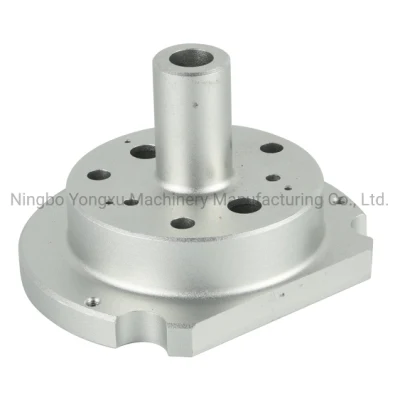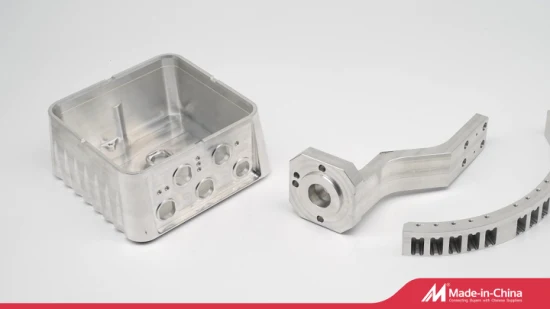
Good Sales Precision CNC Machining Part for Lathe Machine
Good Sales Precision CNC Machining Part for Lathe Machine ;
Basic Info
| Model NO. | Packing line/Aaaembly line/Production line |
| Transport Package | Carton Box/Wooden Case |
| Specification | W: 25 |
| Trademark | world precision |
| Origin | Dongguan, China |
Product Description
| Item | Good Sales Precision CNC Machining Part for Lathe Machine |
| Size | Customized, according to drawing |
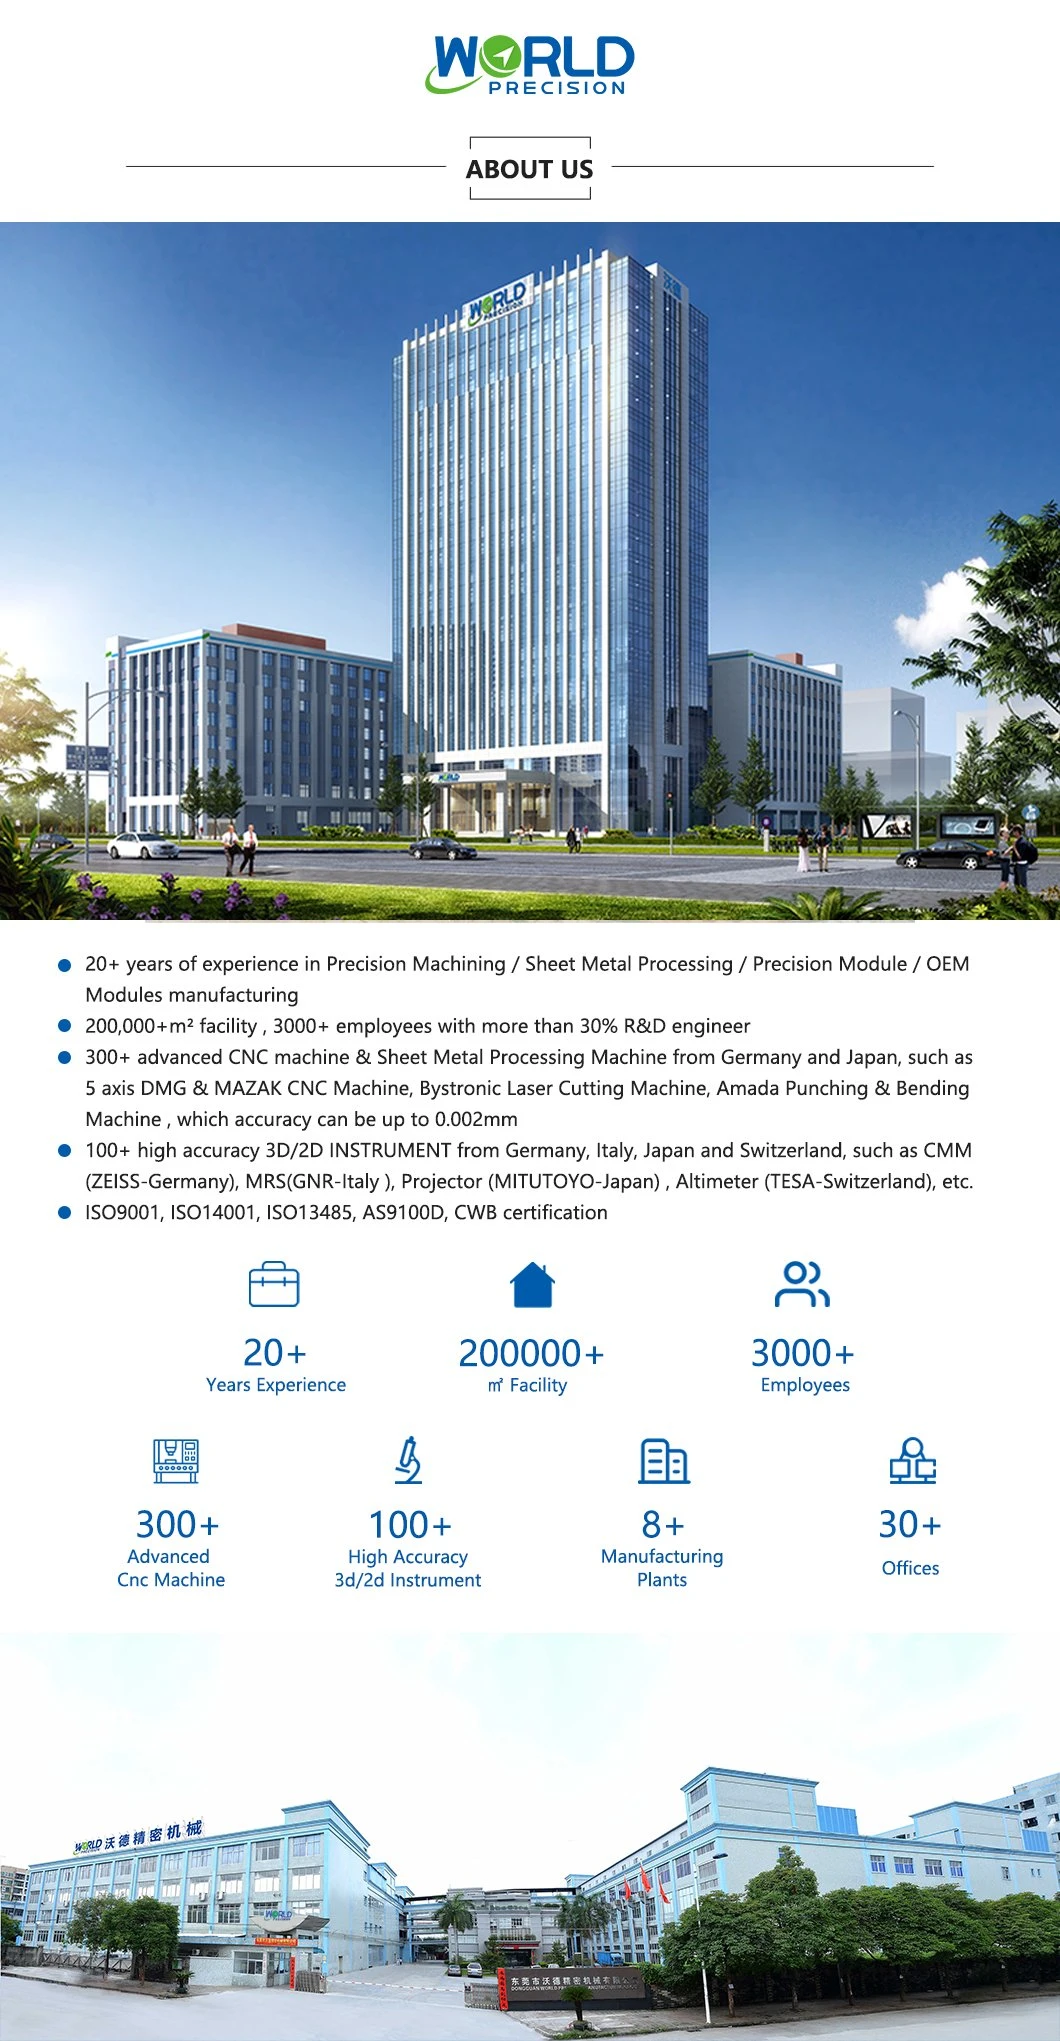
| Technological Design | Process analysis and review of product drawings; Draw up a processing plan; Compile process specification and design and manufacture of process equipment |
| Material | Carbon steel, Stainless steel, Aluminum, Aluminum alloy, Copper alloy, Galvanized steel sheet, Magnesium alloy, Titanium alloy, Special materials, Engineering Plastics… Or Customized |
| Tolerance | +/-0.002mm, 100% QC quality inspection before delivery, can provide quality inspection form testing equipment |
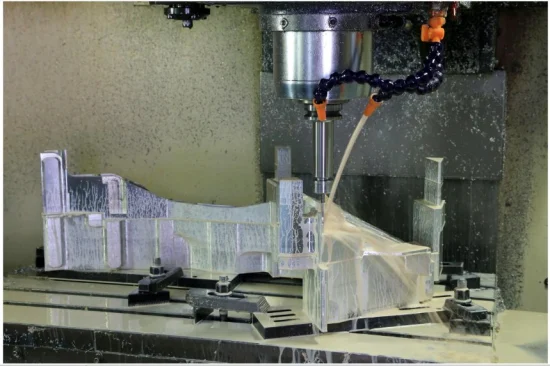
| Processing | Milling, Turning, Drilling, Planing, Fitter, Boring, Grinding, CNC machining, Broaching, Grinding and Honing |
| Heat Treatment | Normalizing, Annealing, Tempered, Aging, Tempering, Quenching |
| Special Processing | EDM, Wire EDM, Electrochemical machining, Laser processing |
| Equipment Support | CNC Machining Center(DMG/MAZAK), CNC Turning Milling Compound Machining Center(DMG), CNC Lathe (STS/Feeler/MAZAK/TAKISAWA), Slow-feeding Wire Cut Machine(SODICK), High Speed NC WEDM Tool(San Guan/Gao Cheng),Milling Machine(GENTIGER/Joint), Grinding Table(Jian De), Surface Grinding Machine(NAGASHIMA/Wang Pan) |
| Surface | Polishing, Sandblasting, Zinc plating, Tin plating, Nickel plating, Gold plating, Silver plating, Copper plating, Alloy plating and Spraying (Painting and powder spraying), Anodizing and electrophoresis, etc. |
| Certification | ISO 9001:2015, ISO 13485:2016, ISO 14001:2015, AS 9100D, CWB |
| Testing Equipment | CMM (ZEISS/HEXAGON), Roundness Meter (ACCRETECH), Tensile Tester (AIGU), Profilometer (TOKYO), Altimeters (TRIMOS/TESA), Hardness Tester (HAIBAO), Microscope(EASSON), Marble Platform(XINLEI), etc. |
| Min Order Quantity | 1 piece |
| Supply Ability | 100,000 CNC machining parts, 3,000 Sheet metal parts, 50 Module per day |
| Quotation Against | 2D drawings (PDF, JPG, DWG), 3D drawings (STP, IGS) or sample |
| Payment Term | T/T, L/C, D/P, D/A |
| Lead Time | 15-20days |

| Outer Cylindrical Surface Machining Scheme | ||||
| No. | Processing Methods | Economical Accuracy (Indicated by Tolerance Class) | Surface Roughness ValueRa ( μm) | Scope of Application |
| 1 | Rough car | IT11-13 | 10~50 | Suitable for all metals other than hardened steel |
| 2 | Rough turning and half fine turning | IT8~10 | 2.5~6.3 | |
| 3 | Rough turning, half fine turning, one fine turning | IT7~8 | 0.8~1.6 | |
| 4 | Rough turning, half fine turning, fine turning, rolling (or polishing) | IT7~8 | 0.2~0.025 | |
| 5 | Rough turning, half fine turning, one grinding | IT7~8 | 0.4~0.8 | Mainly used for quenched steel, also can be used for unquenched steel, but not suitable for processing non-ferrous metals |
| 6 | Rough turning, half fine turning, one rough grinding onefine grinding | IT6~7 | 0.1~0.4 | |
| 7 | Rough turning, half fine turning, one rough grinding oneRefining-Superfinishing (or Wheel Superfinishing) | IT5 | 0.012~ 0.1(orRz0.1) | |
| 8 | Rough turning, half fine turning, one fine turning, one fine turning (golden steel car) | IT6~7 | 0.025~0.4 | Mainly used for non-ferrous metal processing with higher requirements |
| 9 | Rough turning, half fine turning, coarse grinding, fine grinding, and super fine grinding (or mirror grinding) | IT5 | 0.006~ 0.025(orRz0.05) | Extremely high-precision cylindrical machining |
| 10 | Rough turning, half fine turning, one rough grinding onefine-grinding | IT5 | 0.006~ 0.1(orRz 0.05) | |
| Plane Processing Scheme | ||||
| No. | Processing Methods | Economical Accuracy (Indicated by Tolerance Class) | Surface Roughness ValueRa (μm) | Scope of Application |
| 1 | Rough car | IT11~13 | 12.5~50 | End face |
| 2 | Rough turning and half fine turning | IT8~10 | 3.2~6.3 | |
| 3 | Rough turning, half fine turning, one fine turning | IT7~8 | 0.8~1.6 | |
| 4 | Rough turning, half fine turning, one grinding | IT6~8 | 0.2~0.8 | |
| 5 | Rough planing (or rough milling) | IT11~13 | 6.3~25 | Generally unhardened plane (end milling surface roughness Ra smaller value) |
| 6 | Rough Planing (or Rough Milling - Fine Planing (or Fine Milling) | IT8-10 | 1.6~6.3 | |
| 7 | Rough planing (or rough milling - fine planing (or fine milling - scraping | IT6~7 | 0.1~0.8 | When the batch of unhardened planes with high precision requirements is large, the wide-blade precision planing scheme should be adopted. |
| 8 | Replace the above scraping with a wide-blade fine planer | IT7 | 0.2~0.8 | |
| 9 | Rough planing (or rough milling) - fine planing (or fine gun) - grinding | IT7 | 0.2~0.8 | Hardened or unhardened flats with high precision requirements |
| 10 | Rough planing (or rough shot) - fine planing (or fine milling) - grinding | IT6~7 | 0.025~0.4 | |
| 11 | Rough milling and pulling | IT7~9 | 0.2~0.8 | Mass production, smaller plane (accuracy depends on broach accuracy) |
| 12 | Rough milling-finishing-grinding-grinding | IT5above | 0.006~0.1(orRz0.05) | High precision plane |
| Hole Machining Plan | ||||
| No. | Processing methods | Economical Accuracy (Indicated by Tolerance Class) | Surface Roughness ValueRa(μm) | Scope of Application |
| 1 | Drill | IT11-13 | 12.5 | Machining solid blanks of unquenched steel and cast iron, also can be used for machining non-ferrous metals, the hole diameter is smaller than20mm |
| 2 | Drill a ream | IT8~10 | 1.6 ~ 6.3 | |
| 3 | Drill a rough ream | IT7~8 | 0.8 ~ 1.6 | |
| 4 | Drill and expand | IT10~11 | 6.3 ~ 12.5 | Machining solid blanks of unquenched steel and cast iron, also can be used for machining non-ferrous metals, the hole diameter is larger than15mm |
| 5 | Drill, expand, ream | IT8~9 | 1.6 ~ 3.2 | |
| 6 | Drill-expand-rough-ream-fine-ream | IT7 | 0.8 ~ 1.6 | |
| 7 | Drill, expand, machine hinge, and hand hinge | IT6~7 | 0.2 ~ 0.4 | |
| 8 | Drill, expand, pull | IT7~9 | 0.1~1.6 | Mass production (accuracy depends on the accuracy of the broach) |
| 9 | Rough boring (or reaming) | IT11~13 | 6.3 ~ 12.5 | Various materials except hardened steel, blanks with cast or forged holes |
| 10 | Rough boring (rough expansion) half fine boring (fine expansion) | IT9~10 | 1.6 ~ 3.2 | |
| 11 | Rough boring (rough expansion), half fine boring (fine boring)Expansion) a fine boring (reaming) | IT7~8 | 0.8 ~ 1.6 | |
| 12 | Rough boring (rough expansion), half fine boring (fine boring)Expansion) one fine boring one floating boring cutter fine boring | IT6~7 | 0.4 ~ 0.8 | |
| 13 | Rough boring (expansion) half fine boring and one grinding hole | IT7~8 | 0.2 ~ 0.8 | Mainly used for hardened steel, can also be used for unquenched steel, but not suitable for non-ferrous metals |
| 14 | Rough boring (expansion) half fine boring, rough grinding and fine grinding | IT7~8 | 0.1 ~ 0.2 | |
| 15 | Rough boring, half fine boring, fine boring, fine hammer, fine boring (diamond boring) | IT6~7 | 0.05~0.4 | Mainly used for non-ferrous metals with high precision requirements |
| 16 | Drill one (expand) one rough hinge one fine hinge oneHoning; drilling one (expanding) one pulling one honing;Rough boring, half fine boring, fine boring and honing | IT6~7 | 0.025 ~ 0.2 | Holes with high precision requirements |
| 17 | Replacing honing in the above method with grinding | IT5~6 | 0.006-0.1 | |
| Positional Accuracy of Axis-Parallel Holes (Economic Accuracy) | |||||
| Processing Methods | Tool Positioning | The Distance Error between the two Hole Axes or the Distance Error from the Hole Axis to the Plane | Processing Methods | Tool Positioning | The Distance Error between the two Hole Axes or the Distance Error from the Hole Axis to the Plane |
| Drilling on vertical or radial drills | Use a drill | 0.1 ~ 0.2 | Boring on a horizontal boring machine | With boring die | 0.05 ~ 0.08 |
| Underline | 1.0 ~ 3.0 | By positioning template | 0.08 ~ 0.2 | ||
| Vertical drill or shakeArm drill upper boring | With boring die | 0.03 ~ 0.05 | Read as directed by the locator | 0.04-0.06 | |
| Boring on a lathe | underline | 1.0 ~ 2.0 | Block gauge | 0.05 ~ 0.1 | |
| Use a square with a slide | 0.1 ~ 0.3 | Use a bore gauge or feeler gauge | 0.05 ~ 0.25 | ||
| Coordinate boring machineupper boring | With optical instruments | 0.004-0.015 | Coordinate device with degree control | 0.04-0.05 | |
| Diamond boring machineupper boring | 0.008~0.02 | With a vernier | 0.2 ~ 0.4 | ||
| Boring on multi-axis machine tools | With boring die | 0.03-0.05 | Underline | 0.4 ~ 0.6 | |
You may also like
Send inquiry
Send now


